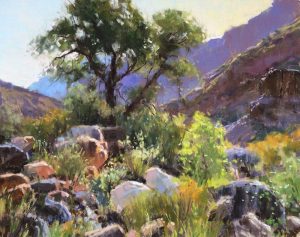
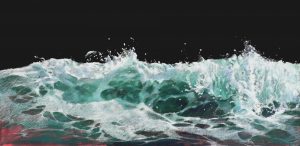
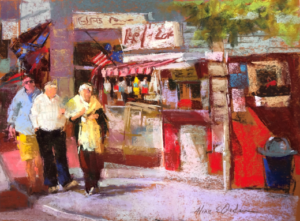
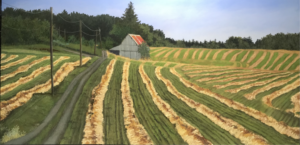
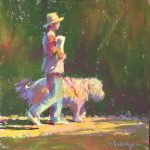
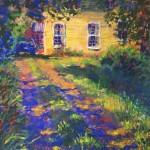
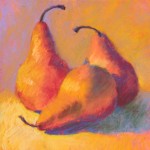
Recently, in my IGNITE! Membership, Anu Vedagiri shared her innovative approach to layering pastels using drafting film. I was already familiar with her luminous work, but I couldn’t quite imagine how she was using this unusual surface to achieve such beautiful effects.
Well, I was fascinated, and our IGNITE! members were wowed!
So I asked Anu if she’d be willing to share her process with How to Pastel readers. Happily, she said yes!
Today, Anu takes us behind the scenes of her experiments with drafting film, including the discoveries, frustrations, and unexpected possibilities that come with trying something new.
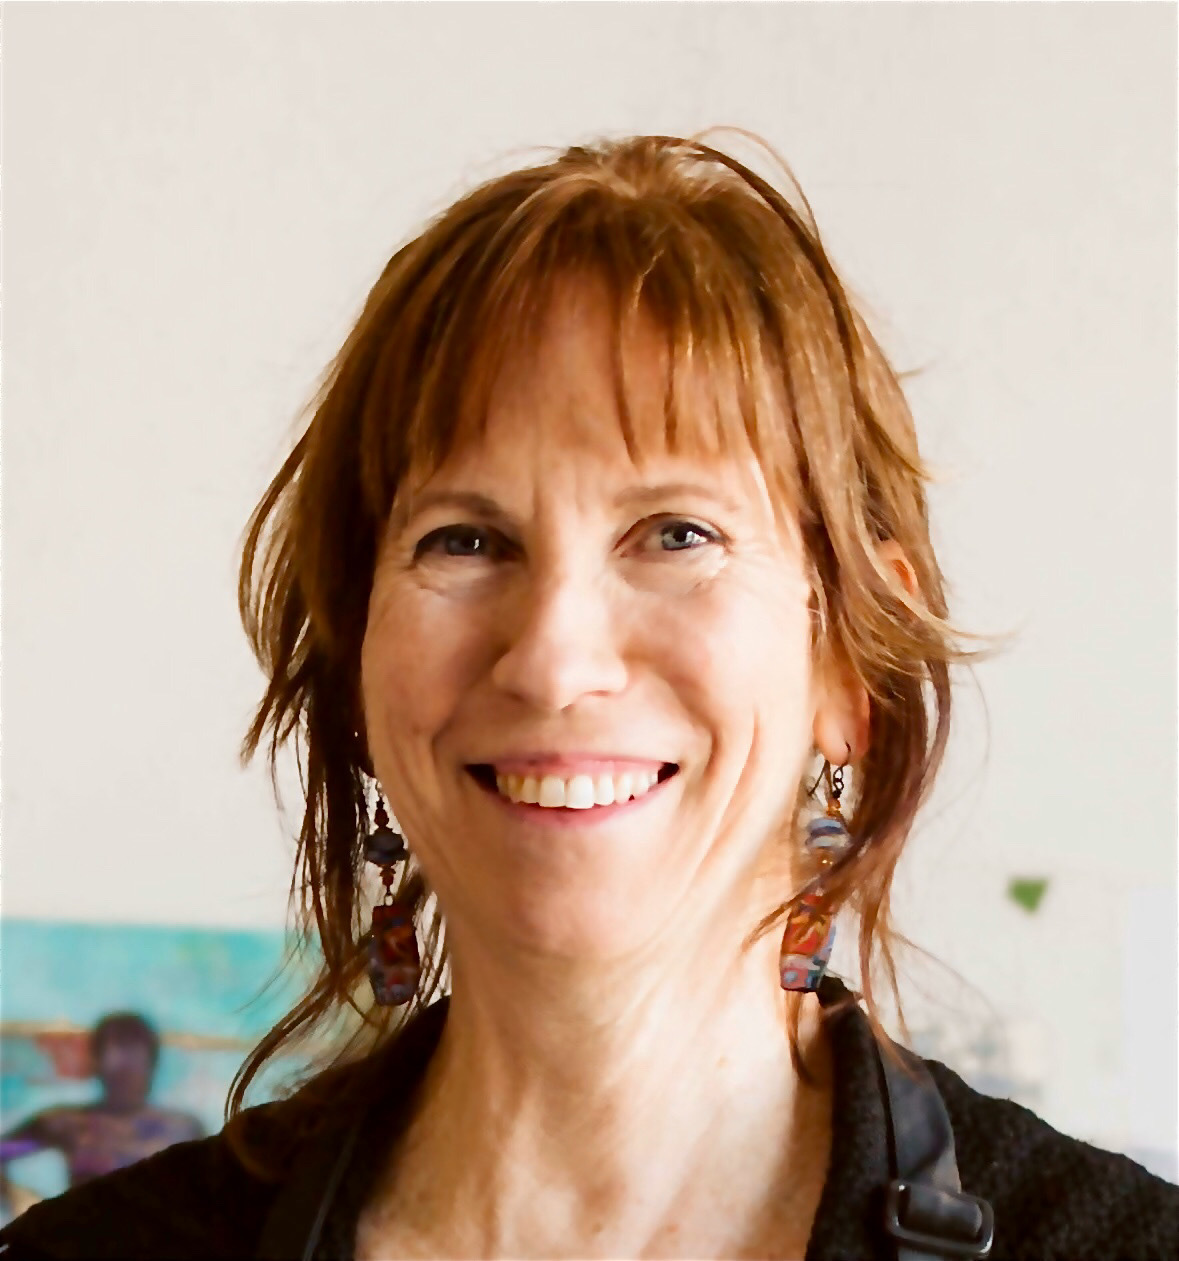
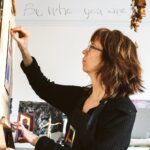
Before I hand the blog over to Anu Vedagiri, here’s a little about the artist behind these luminous paintings.
About Anu Vedagiri
Anu Vedagiri is an award-winning pastel artist whose work celebrates the beauty and quiet dignity of everyday life. Inspired by people going about their daily routines and the contemplative qualities of still life, she finds beauty and meaning in subjects that might otherwise go unnoticed. Working with soft pastels on traditional papers and drafting film, Anu has developed a distinctive approach that brings depth and dimension to her paintings. Her achievements include Signature status with the Pastel Artists Canada (MPAC) in 2020 and Chicago Pastel Painters in 2021, as well as Master Circle status with the International Association of Pastel Societies (IAPS) in 2022. You can read and see more on her website.
And now, over to Anu!

*****
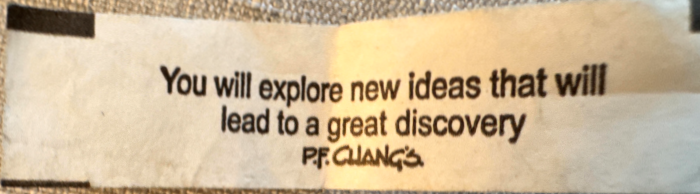
Sometimes, the best creative journeys start with a little nudge from the universe, or in my case, a fortune cookie that said, “a new idea will lead to a great discovery.”
I took that as a playful challenge to shake things up in my pastel work. What followed was a hands-on experiment layering drafting film over traditional pastel surfaces, and honestly, it’s been a mixture of surprises, setbacks, and moments of pure delight.
Living on the 15th floor of a downtown high-rise, I often get to watch the way streetlights and car lights cast long, repeating shadows that seem to ripple and dance on my ceiling. That interplay of light and shadow inspired me to think about transparency and layering in new ways, to see if I could capture that feeling in my pastels by literally layering the surface itself.
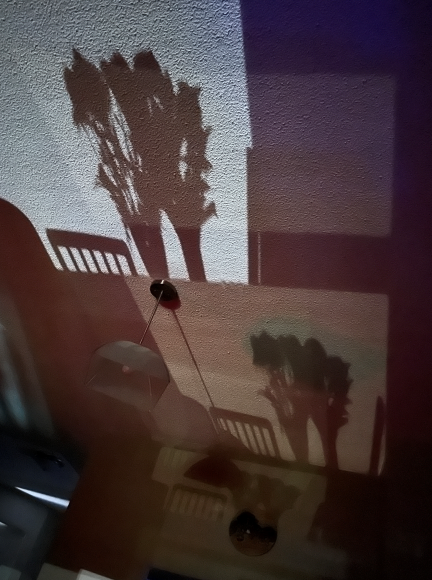
At first, I tried clear acetate, thinking, “Surely this will work!” But no—the gesso and pastels just slid right off and refused to stick. (The two bird images below are examples done on clear acetate where the clear gesso didn’t adhere to the surface.) It was frustrating, but it also sparked my curiosity to dig deeper.
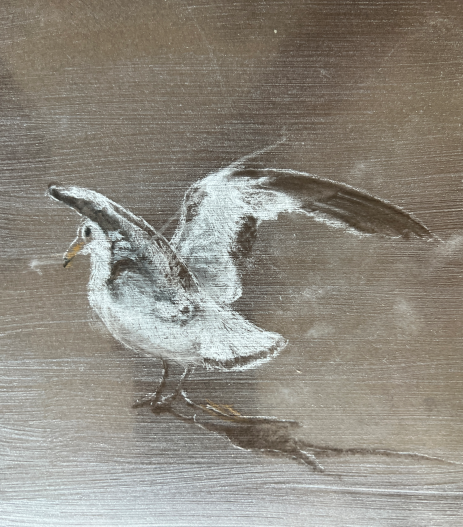
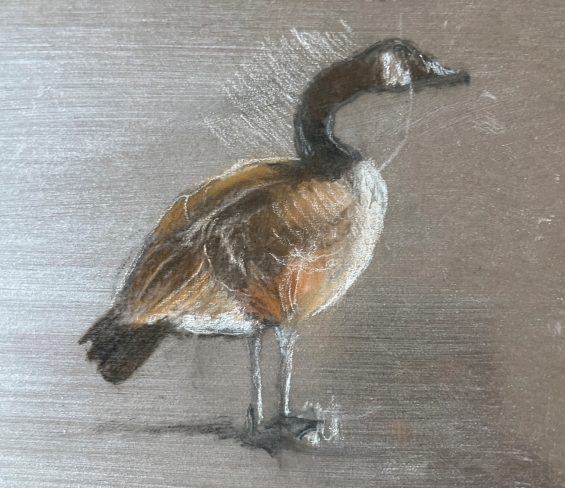
That’s when I discovered drafting film, specifically Grafix 3 ply single-sided. It wasn’t the easiest thing to find here in Canada, but once I did, it opened an exciting new playground for my pastels.
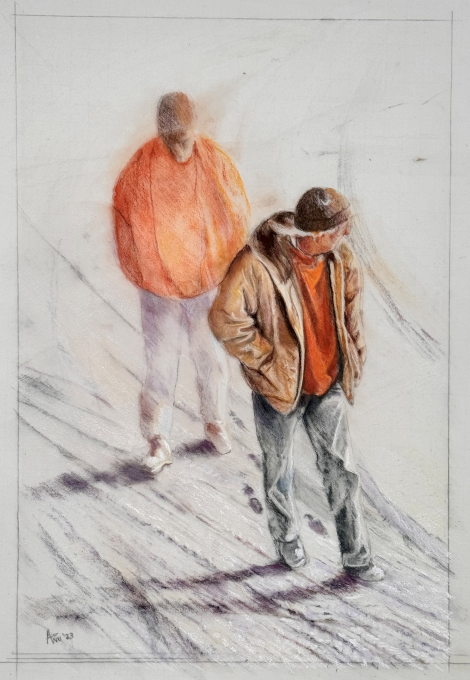
The drafting film by itself is super smooth and slippery, so I add a thin, even coat of clear gesso on top. This step is crucial.
If the gesso is too thick or streaky, it messes with the way the pastels settle. When done right, the gesso adds a soft tooth to the surface, and an interesting side effect is that the pastel marks tend to follow the tiny brush strokes left in the gesso. That little texture has become a fun part of the process, giving the work an unexpected character.
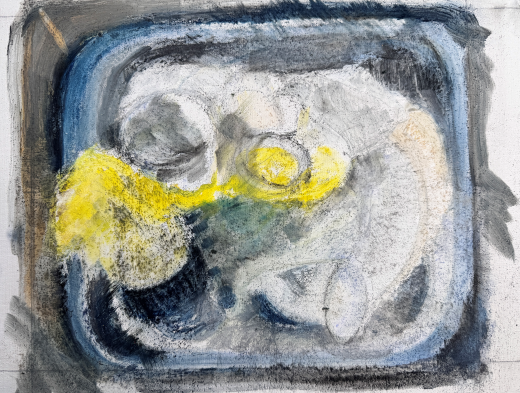
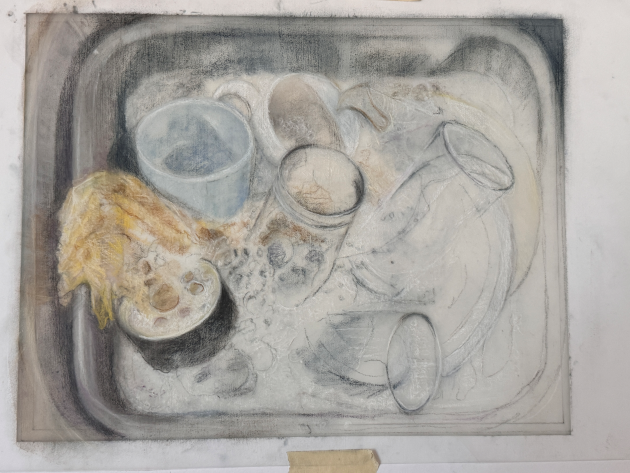
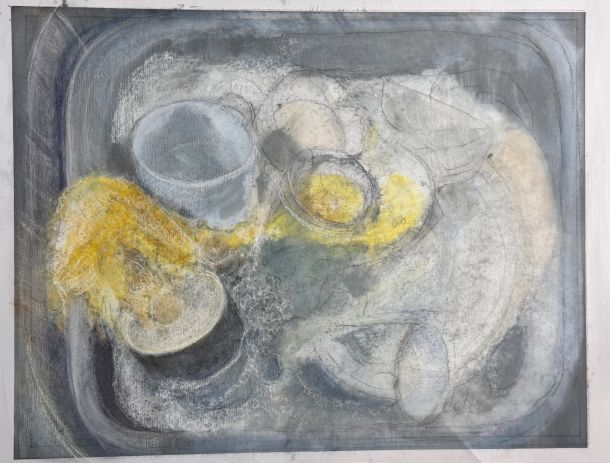
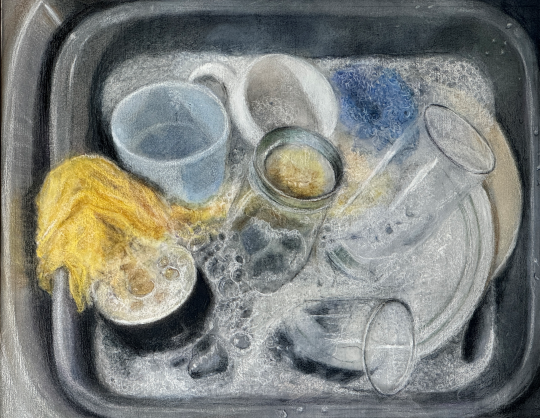
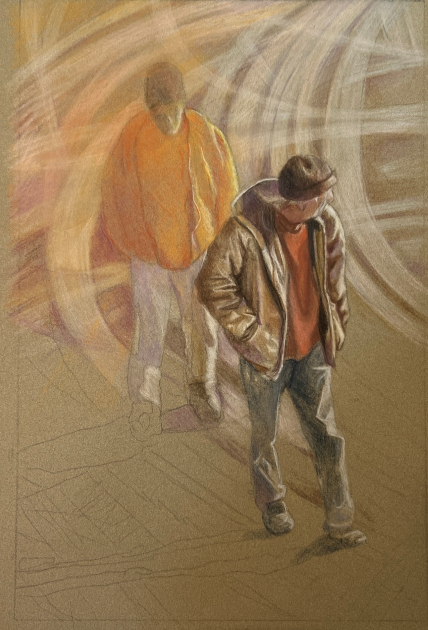
My workflow feels a bit like a dance between two layers. I start by marking the edges of my pastel paper with a pre-cut mat, then do the same on the drafting film.
While the gesso dries on the film, I sketch a loose outline of my subject on the paper below.
Once the film is dry, I place it over the paper, trace my design, and tape everything down using archival tape hidden behind the mat. What I love is that I’m not working on just one surface – I’m working on both simultaneously, bouncing back and forth, refining colours and layers in tandem.
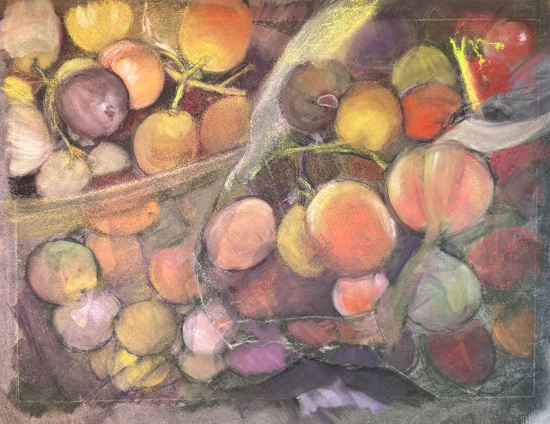
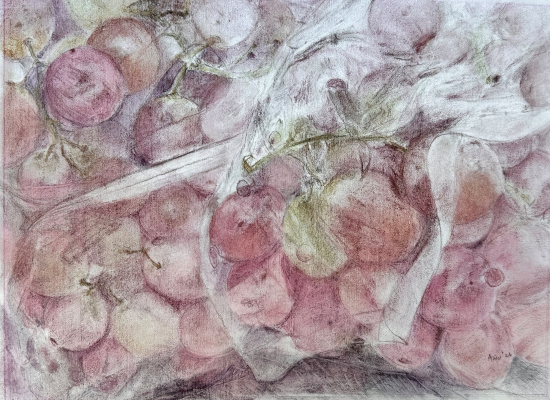
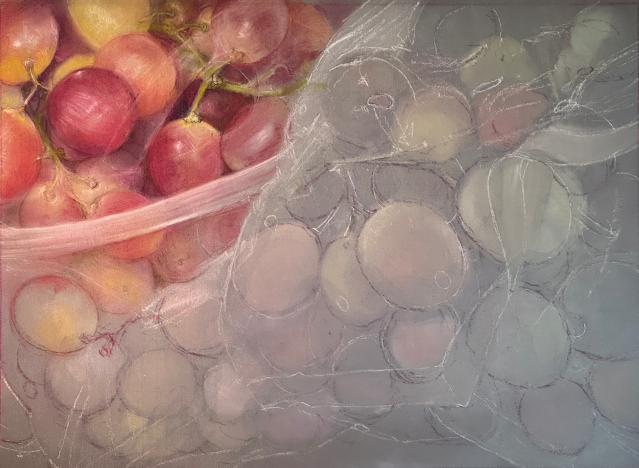
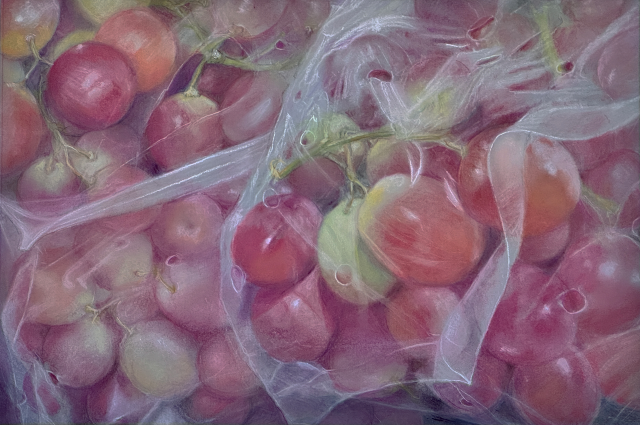
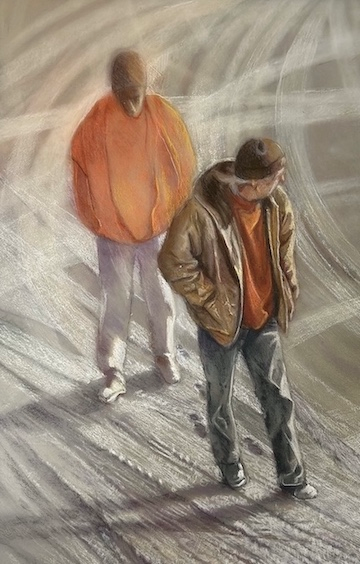
Hard pastels and pastel pencils are my go-to here because they maintain the delicate transparency I want. Soft pastels can quickly become too heavy, smothering the layers underneath. Keeping my marks light and deliberate lets me preserve the subtle depth this technique offers.
And that depth is something special.
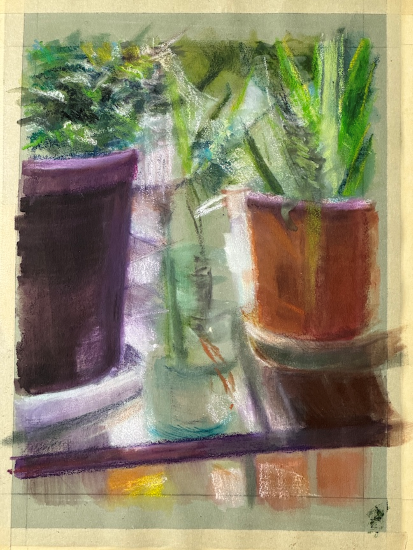
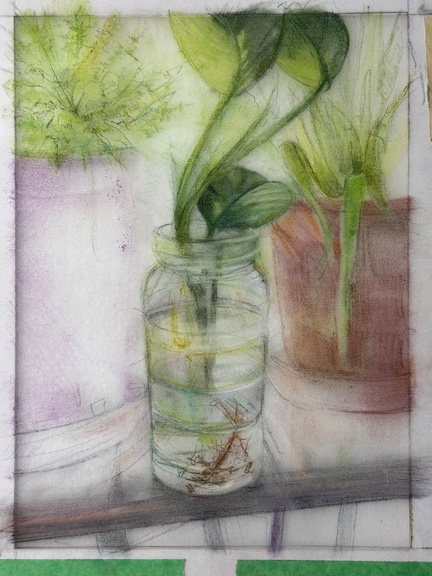
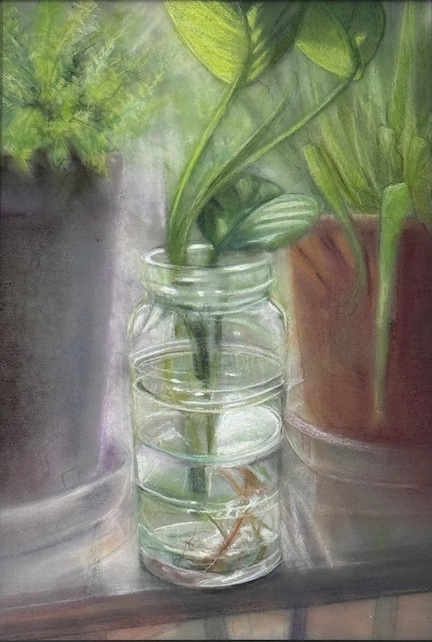
The drafting film gives a slight haze, a muted quality, which at first seemed like a drawback. But really, it adds a kind of three-dimensional vibe – perfect for subjects where reflections and translucency take center stage. I’ve found glassware still lifes, interiors seen through window panes, and imagery playing with reflections, all really sing with this method.
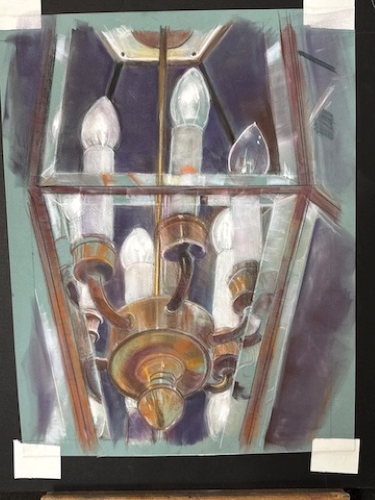
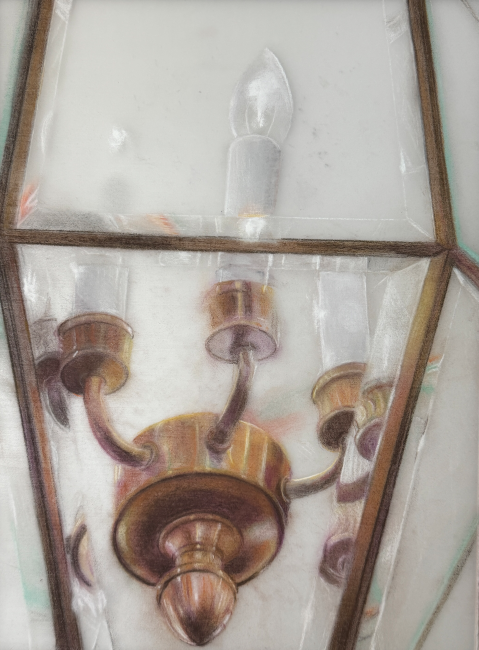
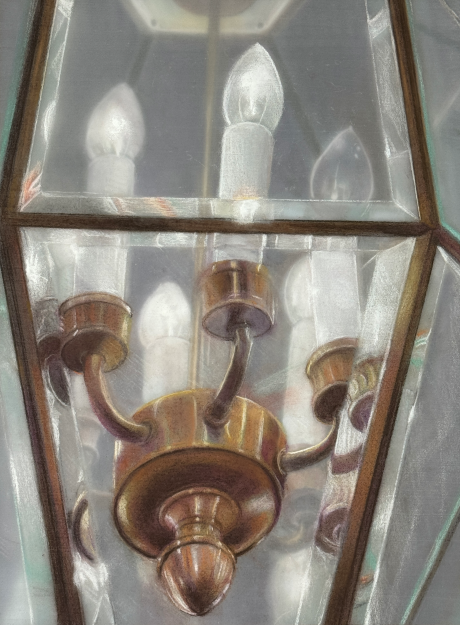
Of course, the process hasn’t been without its bumps. The trial-and-error, hit-or-miss nature can be tiring sometimes.
The muted haze won’t suit every subject, and there are times I wrestle with the way pastels follow the gesso’s brush marks – sometimes I love it, sometimes I just wish it wasn’t there.
Framing means I have to use a mat to keep the layers together neatly, but that’s a small price to pay for the unique effects I get.
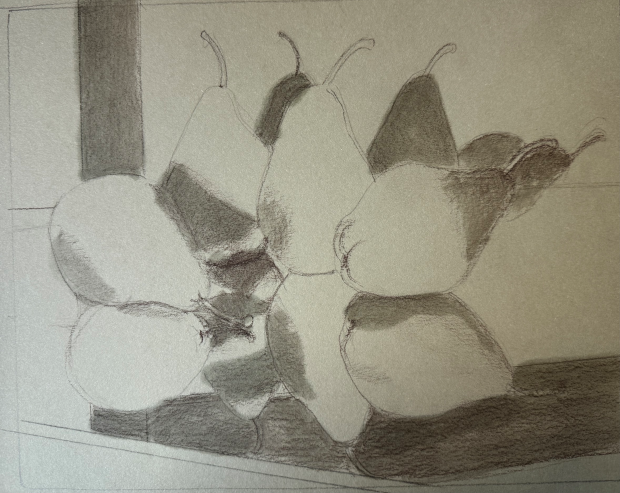
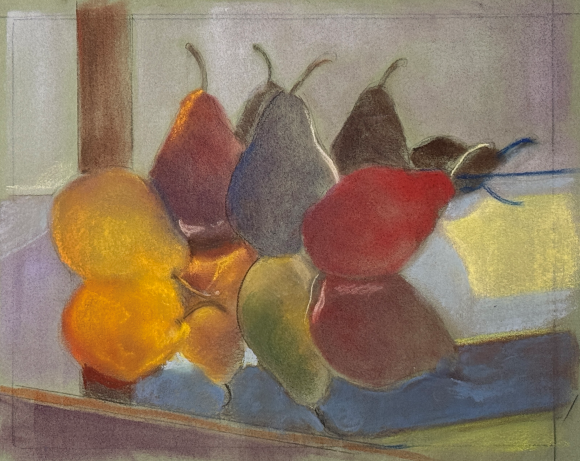
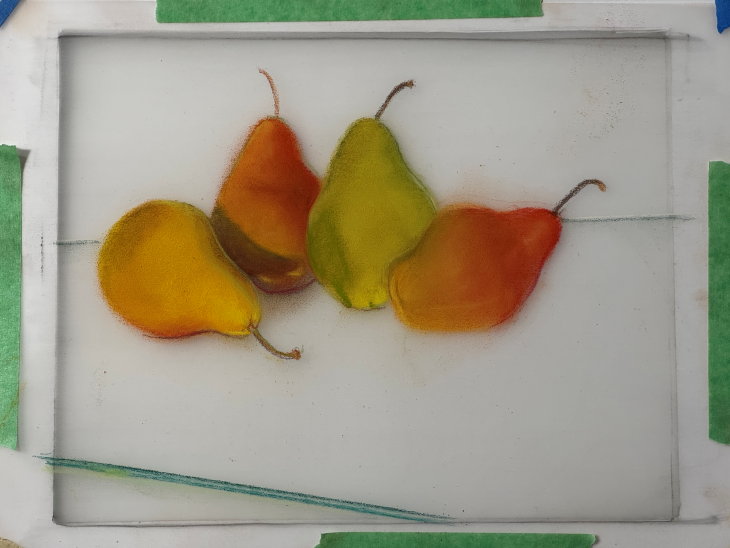
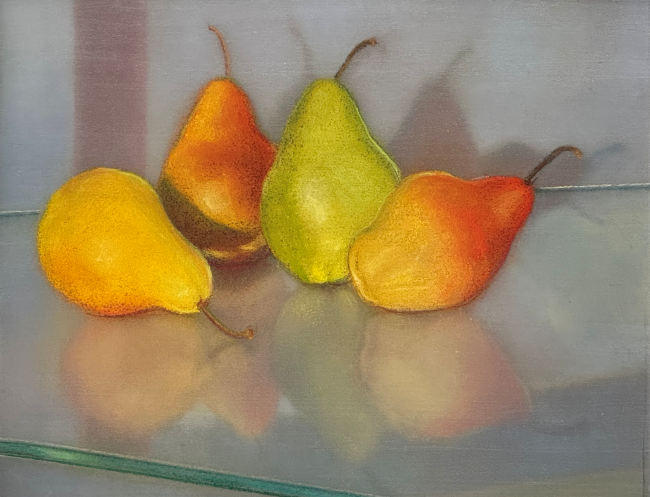
If any artists want to try this, my biggest tip is to be patient with the gesso layer – make it as smooth and fine as you can without streaks. Also, use pastel pencils lightly.
The real magic is in allowing the bottom layer to peek through; don’t smother it. And most importantly, have fun with it. Don’t stress about “getting it right” on the first try. Embrace the playful spirit of experimentation, because that’s where the discoveries happen.
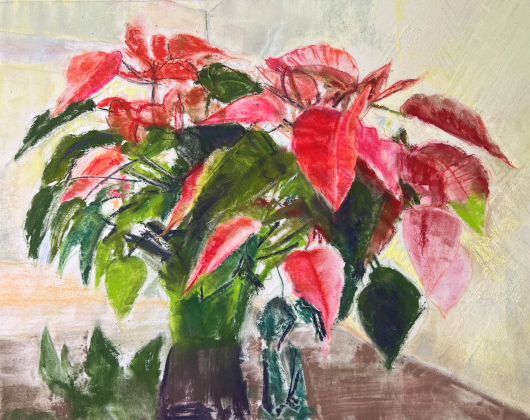
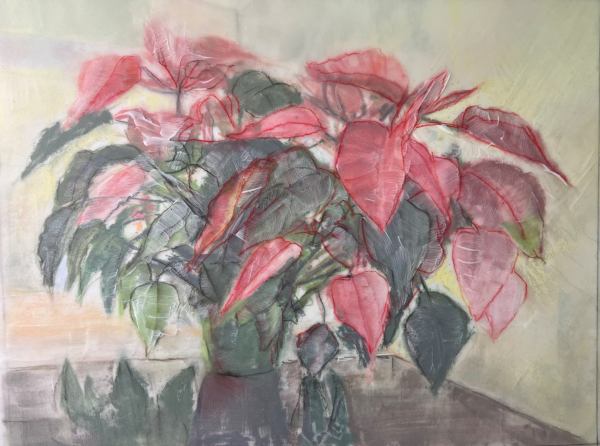
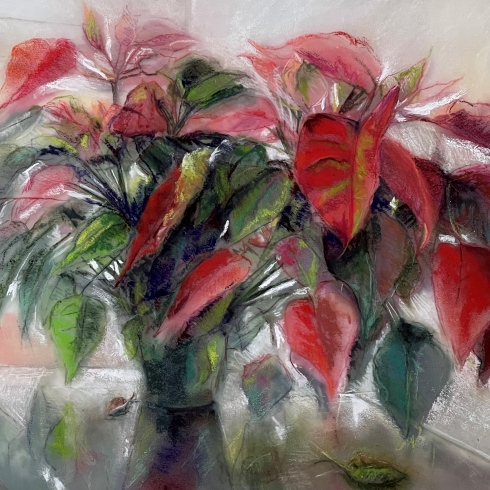
I feel like I’m just at the beginning of what this layered pastel world can offer. So many ideas and subjects still to explore, and each piece teaches me a little more. Ultimately, this is a creative adventure – not a polished technique – and I’m excited to keep playing, learning, and seeing where it takes me.
~~~~~
A huge thank you to Anu Vedagiri for so generously sharing her process with us!
What I love about Anu’s approach is that it grew out of curiosity. She had an idea, tried something, discovered what didn’t work, and kept going. And along the way, she found a way of working that gives her paintings their distinctive luminous quality.
It’s such a good reminder that experimentation doesn’t always lead where we expect. Sometimes, what initially seems like a problem turns out to be the very thing that makes a technique interesting!
Now, I’d love to hear from you. Have you ever experimented with an unusual surface or material? Did it lead to an unexpected discovery? And has Anu’s guest post inspired you to give drafting film a try?
Do share your thoughts, questions, and experiences in the comments below. I know Anu would love to hear from you too!
Until next time!
Gail