
After my blog on plein air painting in Mexico, I had a few people ask for a list of exactly what I took with me. They wanted to know about how to travel light with pastels. That opened up the idea for this blog.
In my home studio, I usually work on an easel. When working en plein air in my local area, I use a half-french easel. But when I travel by air with pastels, unless I’m teaching or doing a trip specifically to produce artwork, I leave my easel at home. It takes up room and adds weight and nowadays, with all the weight and size restrictions not to mention the cost of checked baggage, I find it easier that way. I also take a limited number of pastels.
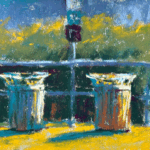
My Mexican trip was a two-week getaway, half of which was taken up with a tango workshop. I knew, realistically, that I wouldn’t do much work during that week. In truth, I had one week in which I would seriously paint. With that in mind, I severely restricted my materials, so much so that when I arrived, I was wishing I had brought a few more or alternative items. It turned out, however, that I had brought just what I needed.
Here’s what I took:
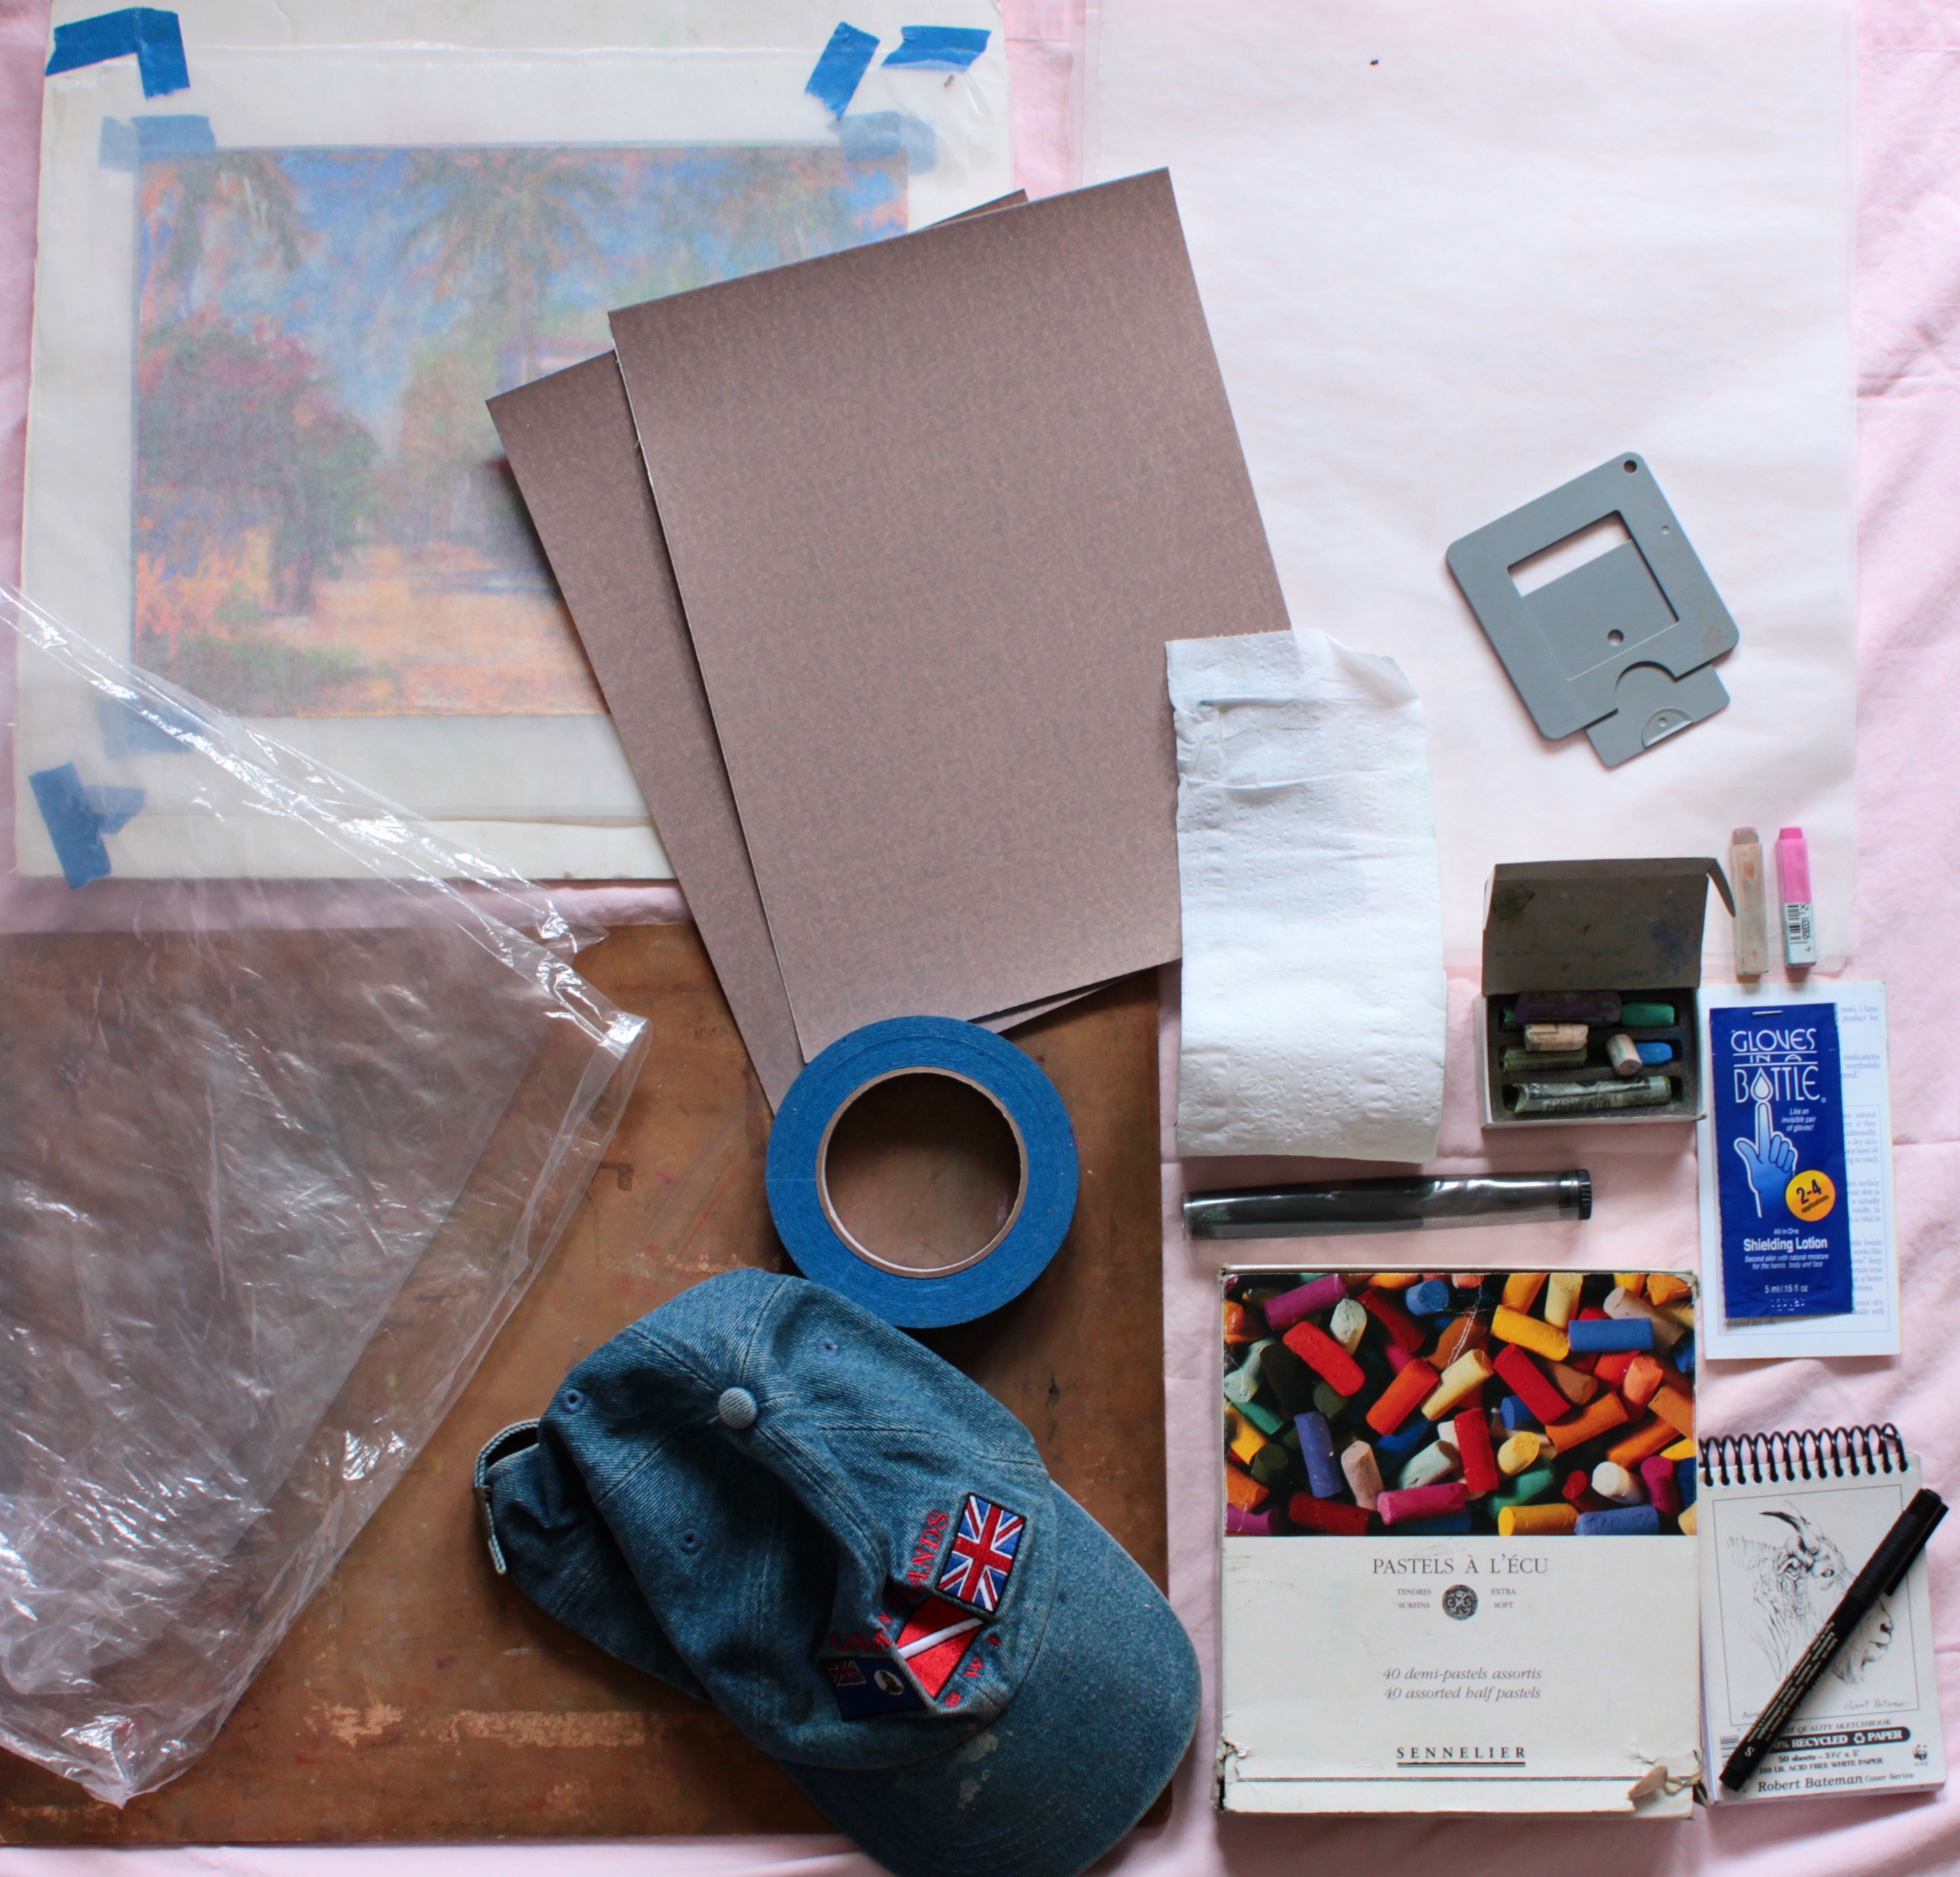
– a hardboard panel 14 x 18 in on which to work
– six sheets of 9 x 12 in Wallis paper
– six sheets of glassine about 15 x 18 in each (for wrapping the completed pastel)
– a piece of foamcore the same size as the panel (I use this to tape my wrapped pastels to then when I am ready to travel, I top the whole with the board to create a protective sandwich around the pastels)
– blue 3/4 in painters tape (to tape the Wallis paper to the board and for taping the glassine around the completed pastel and for taping the glassine package to the foamcore)
– viewfinder (which I forgot I had!)
– soft small roll of toilet paper (for cleaning pastels and wiping my hands)
– a tube with a few sticks of charcoal (for drawing up the outline on the Wallis paper)
– gloves in a bottle (which I forgot to use)
– small sketchbook (for thumbnails)
– pen (for thumbnails)
– a box of 40 half-stick Sennelier pastels
– a small box of a few extra Sennelier pastels
– a couple of Holbein pastels – pink and a warm grey (for unifying and creating interesting lines)
– a cap (even though I’m not a hat wearer, this is essential to shade my eyes from sky glare)
I then put everything in a large clear plastic bag with a piece of paper that says “FRAGILE – Artist Supplies including chalk pastels [I use the term “chalk” because that’s what most people will understand]. These are the tools of my artistic work. Thank you for all your care with them.”
I always put everything in a plastic bag because I have had a previous experience when my bag was left in the rain and it was almost soaked through! (As an aside, I now line my suitcase with large plastic garbage bags which does give quite a bit of protection from wet conditions.)
Nowadays, I put all my art supplies including pastels, in my checked bags and have had no trouble. Occasionally there is a note that says the bag has been opened but that seems to be happening less often. So far, so good.
On the other hand, when I have had the pastels in my hand luggage, I was frequently pulled aside to have the bag checked. Now I only carry my pastels in hand luggage if I’m going somewhere to teach a workshop as I don’t want to be without them if my luggage decides to take a trip elsewhere.
I hope this has helped you figure out how to travel light with pastels.
This trip to Mexico was a bit of an anomaly. Like I said above, we were doing a tango workshop which meant packing dance shoes and many different outfits all of which took up space and weight. So I was seriously curtailed in the art department!
Usually I travel with sheets of pre-mounted paper (on foamcore) which means I don’t have to lug along a board on which to work since the board is built in. But these take up a lot of space even though, at the same time, they certainly are light. Also, I would probably have taken more pastels. What I did was pick up each of my various starter kits and choose the lightest – which happened to be the Sennelier set (and happily, it was the one with the most colours). Normally I would have had a Schmincke set and perhaps a Unison or Great American set along as well. But you know, the Sennelier package was perfect for what I needed considering the time limitation as well as the luggage constraint.
With the changes in the airline business regarding checked baggage – the cost (do you remember when that was free??), the size restrictions (do you remember when people hauled around huge pieces of luggage?), and the lowering of the weight allowance (do you remember when it was 75lbs rather than 50lbs??), figuring out how to travel light with pastels is getting more and more difficult.
I’d love to hear how you travel light with pastels. Please leave a comment!!
I have an extra special treat for you next time!! Stay tuned 🙂
Until then,
~ Gail
PS. Some wise advice from Margaret Evans!!
PPS. When I was demoing at IAPS last year, I borrowed this tripod field easel from Craig at Dakota Pastels. I LOVED it and went to buy it at the end of the show but they were sold out. Argh!! This would be perfect with their Deluxe Traveller Small Box. I think they might just be light enough and small enough to travel in my suitcase. One day I’ll get to the store and buy them…..


6 thoughts on “Travel Light With Pastels”
Hi, Gail!
Thanks so much for your great suggestions! I’ll definitely be rereading this as it gets closer to our trip to Alaska this summer! Lived there when I was a kid and have certain places already picked out that I have to go and paint, but between the fishing gear and clothing, I’m thinking I’ll be packing enough to fit into 4 suitcases! (We’ll be there for two weeks.) Anyways, thanks so very much for the suggestions!
Betty Smith
Hi Betty, Glad it was helpful. Your situation sounds very familiar! This set of items takes up very little room, travels safely, and gives you lots to work with.
Great advice, Gail. I’ve been cutting back on my travel supplies for awhile now, but still have a lot to learn about it. Before traveling to Europe for three months to paint last summer, I bought a small carry-on bag from Rick Steves (https://store.ricksteves.com/shop/p/rolling-carry-on) and limited myself to what I could pack in that bag. Having the Dakota small travel box helped a lot. I still took way too much paper, but used most of the supplies I had along.
I did have my bag pulled aside for a hand inspection every time it was scanned. I found that most of the people at the scanners were aware of pastels and were very careful in their handling of the pastels. They usually also allowed me to open the pastel box myself.
One question: what was the fixative the man from the Rembrandt display was talking about? I couldn’t understand what he said the name was and couldn’t see the brand.
Thanks,
Jean
Glad you found the advice helpful Jean.
Wow – three months painting in Europe. How fabulous!! Great that you used pretty much all the supplies you took. It’s a tricky thing to balance what you think you will need with what you will really need!
Thanks for the info on the Rick Steves carry-on.
Regarding the fixative, I believe you are referring to the one in the interview I did at IAPS of Kyle in the Rembrandt booth. The fixative is put out by Talens, the same company that puts out Rembrandt pastels, and is called Concentrated Fixative 061 or 064 (more concentrated than 061). I have never used this fixative.
Thanks for adding to the travel light conversation Jean!
Thanks, Gail. The Talens fixative is exactly what I was asking about.
BTW, I misspoke. I didn’t use-up all my supplies. It would have taken a lot of painting to use-up all those pastels, even in the small Dakota box. But I definitely made use of all the supplies I took:)
Great!
Yes, but you DID use what you took – not letting them languish 🙂